
In order to use any packet capturing tool, it is necessary to have a set of data packets ready to be analyzed. Rather than grabbing random network traffic, in this example we can use a basic LetsDefend challenge demo set.
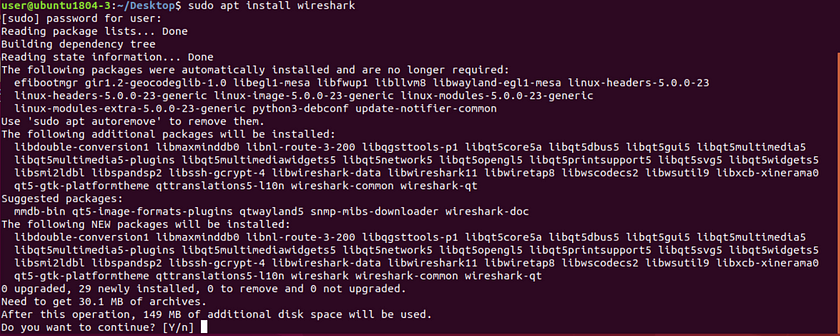
After downloading the zip file we can move to our Virtual Machine to get the Wireshark application up and running. Wireshark as well as a plethora of other network and security applications come preinstalled on OS’s such as Kali Linux or Parrot Security, but in my case I prefer to use Ubuntu as it is lightweight and I can add packages and applications as necessary.sudo apt install wireshark
Will be the command used to commence the installation.
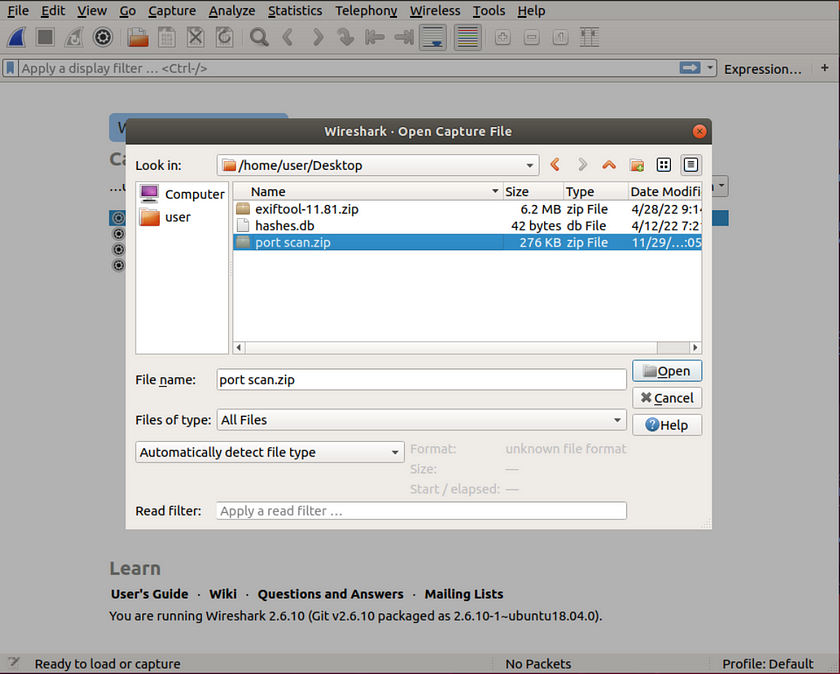
The file offered by the LetsDefend challenge comes as a compressed zip folder, which is not applicable to be used by either of our Wireshark tools out of the gate. After opening Wireshark we can test the initial zip file.
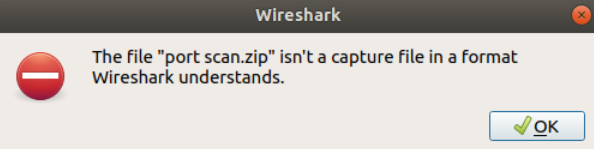
And as seen here Wireshark denies the request to open the capture file due to its formatting.
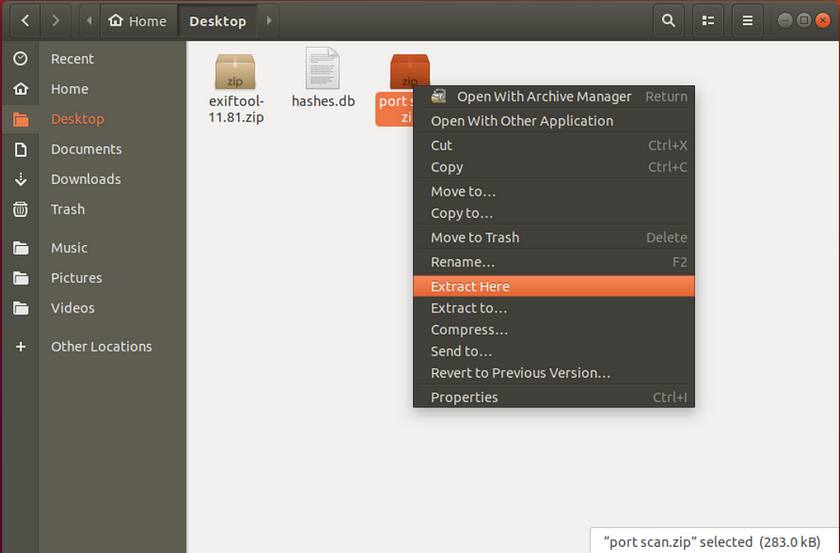
The file can be unzipped by either within your GUI or CLI, both options will be shown in this article beginning with the GUI method. Simply right click on the folder and select extract here.
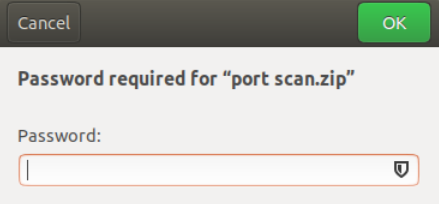
Then input the password for given by the challenge objectives to unlock the folder.
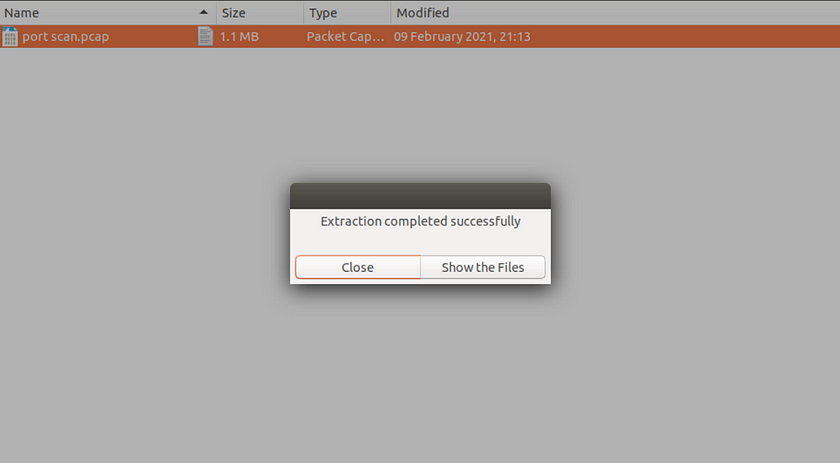
And a message acknowledging the extraction should appear.
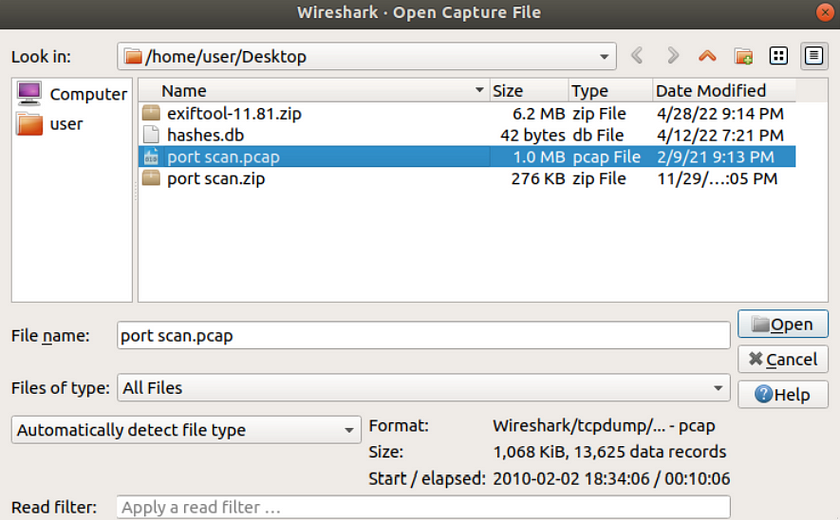
Now back in our Wireshark application lets try opening the extracted pcap file.
Wireshark will display a variety of metric filters for ease of viewing the contents of the network capture.
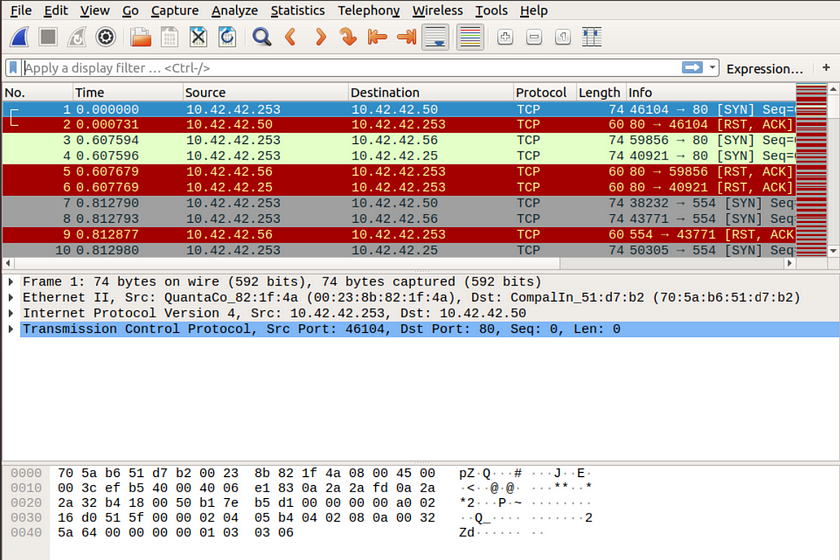
Additional information is also shown such as the “Packet Bytes” pane which shows the packet data as hexadecimal bytes.
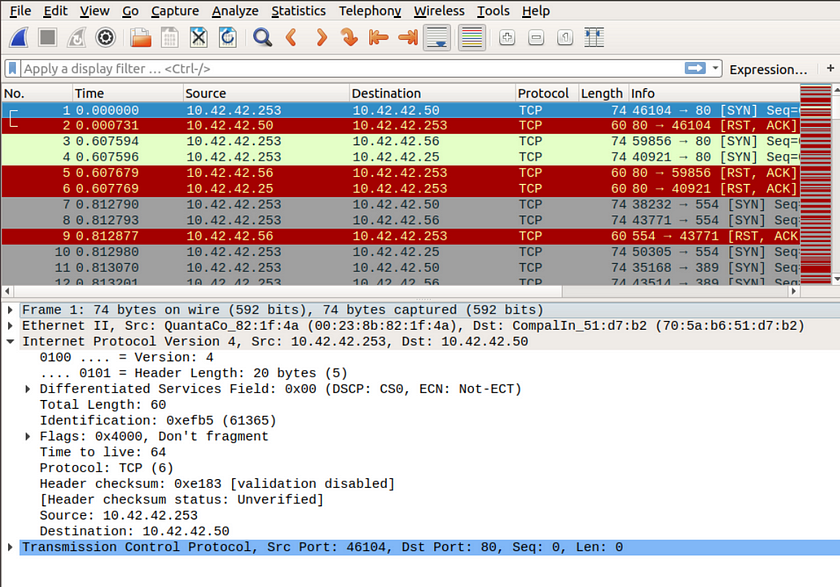
Underneath the Internet Protocol section that shows TCP/IP connections, we will find the answers to the challenges.
The source IP is shown as the third to last line,
And the Destination address is shown as the second to last line.
Now to perform the same network protocol analyzing exercise with TShark, the CLI version of Wireshark.
We can check to see that TShark is in fact not installed concurrently with Wireshark by runningtshark –version
Within the terminal.

The Linux kernel suggestions a solution to our missing TShark packages by using this installation command.sudo apt install tshark
After inputting the command we can check the verification of installation by running the first command again.
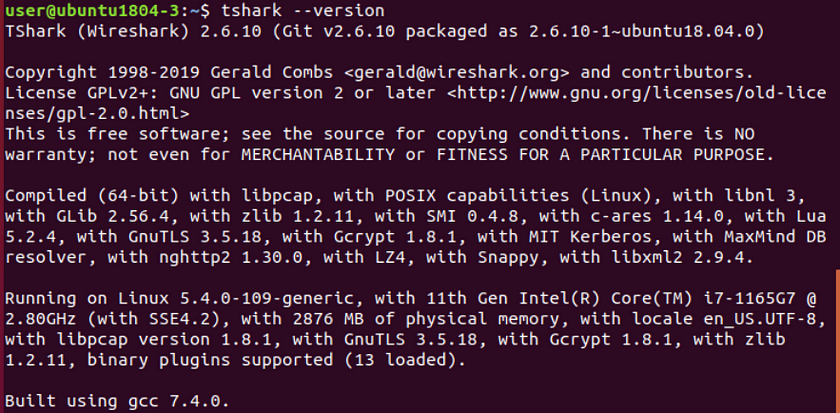
The application version will now be shown. To learn more about how to use TShark runtshark –help

But before we can use any commands against our pcap file, lets unzip the file again but this time from the CLI as it is also possible to do so.
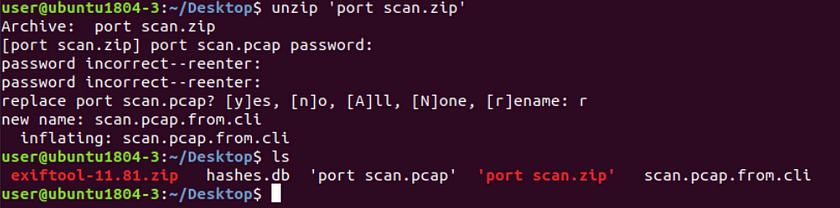
Renaming the pcap file will be necessary as to not override the first file and show that is was indeed created.
Next refer back to our commands listed by using the — help flag

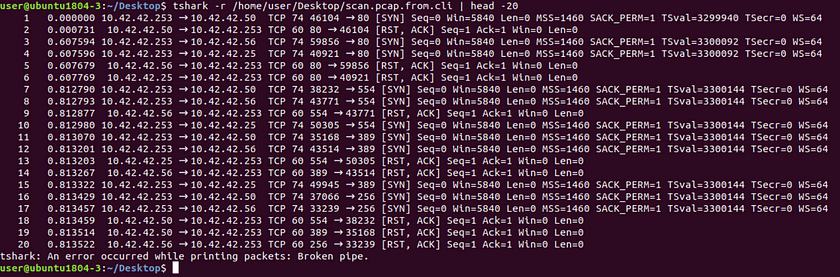
The -r flag can be utilized to specify our capture file for processing. First run the print working directory command to get the path of the directory that contains the pcap file.pwd
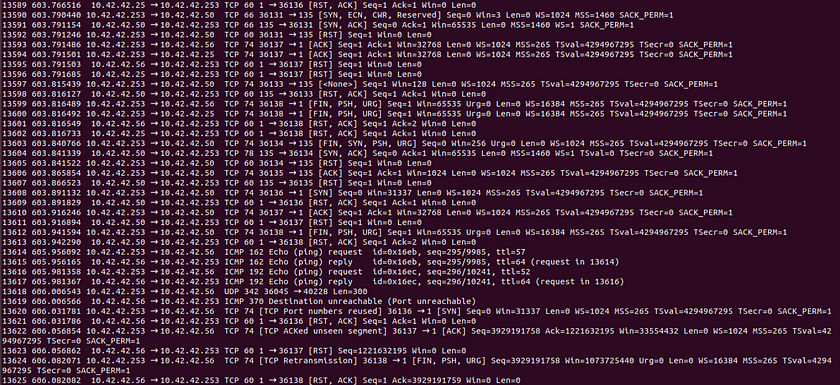
Then we can copy and paste the directory and append the file name, and see the results scroll forward of the entire contents of the file.tshark -r <path_to_pcap>
Obviously sifting through this much information would not be an easy task. Therefore piping our original command with an additional command to shorten the output, such as ‘head’ or ‘tail’ can be utilized. Our new command looks like this.tshark -r <path_to_pcap> | head -<number_of_lines_desired_for_viewing>
This output now shows the same similarities as our Wireshark GUI output except without the metric filters at the title, it is necessary to understand each line without such aids.