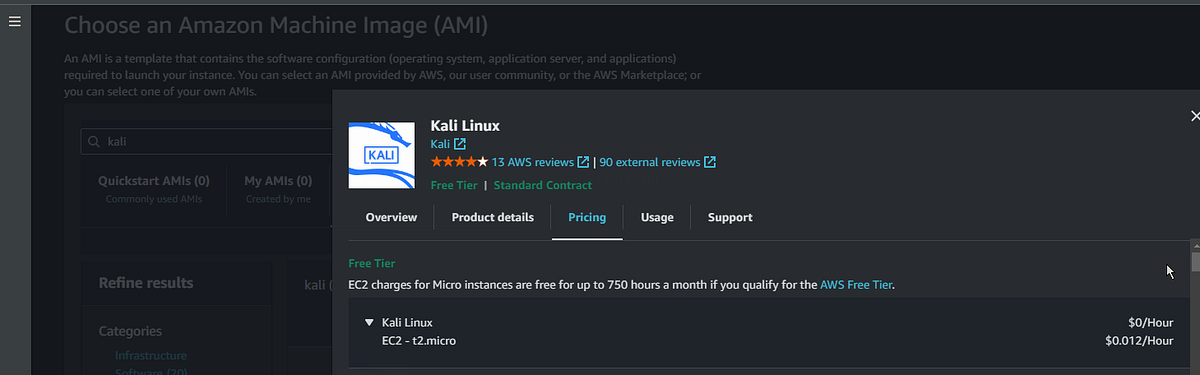
If you’re not on a tight budget and would like a machine with more compute power, the vendor recommends selecting a t2.medium which has 2 vCPUs and 4GiB of ram, otherwise a t2.micro will be sufficient with just 1 vCPU and 1GiB of ram.

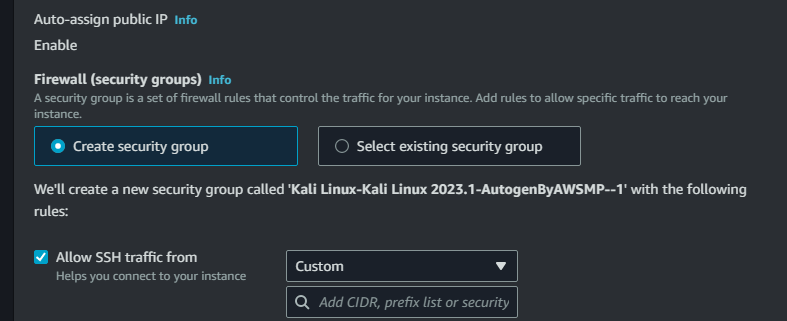
Add your local machine’s IP address under the Allow SSH traffic security group rule. This is in order to achieve inbound SSH network connectivity from only the specific local machine and not the rest of the world.
An authentication key adds even an additional layer of security when connecting to your hosted machine. The key pair mechanism will authenticate your identity to the server, and has a complex algorithm which is harder to break than a traditional password.

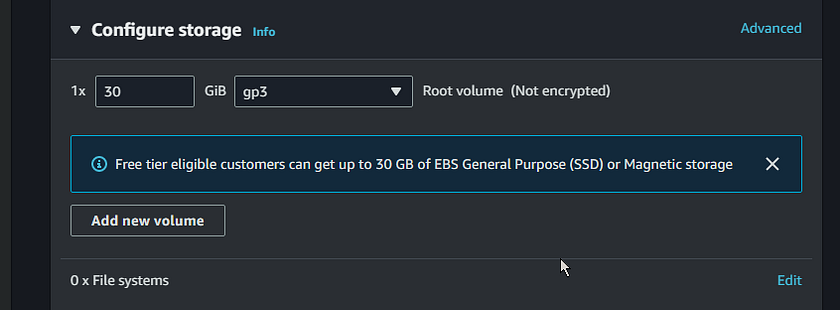
Change storage to desired capacity, anywhere from 15–30 works.
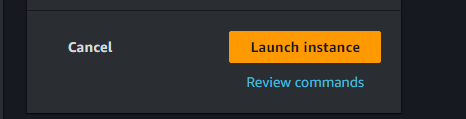
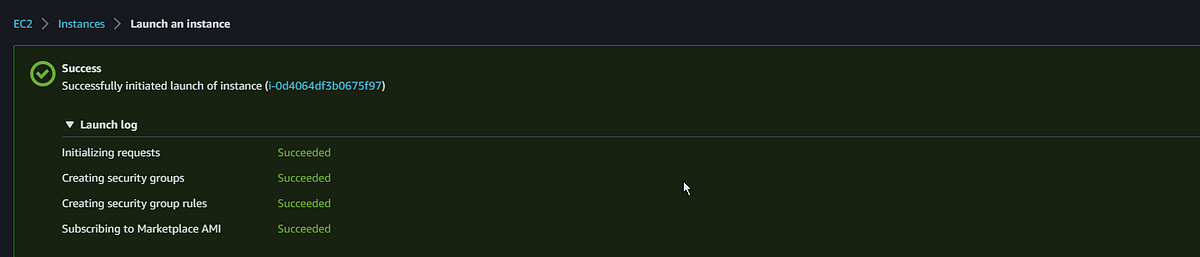
Select Launch instance under summary.
Click on the Instance ID highlighted in blue.
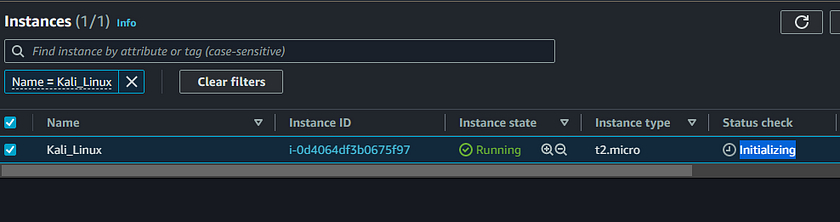
Status check should change from ‘Initializing’ to ‘2/2 checks passed’.
Moving into the terminal from your local machine, or client machine, it’s possible to establish an SSH connection using the downloaded .pem file containing the private key information.
The first step is to ensure the SSH daemon is in fact running.
sudo service ssh status
If it is running we can move on, otherwise run sudo service ssh start

Next, it is best practice to move the key pair to a known hosts file. This is another security measure which prevents a man-in-the-middle attack, where an attacker may modify, inject, or eavesdrop on the data being transmitted.
mvmoves a file to a specified location,
ls -lahshows file permissions in a listed human readable format.

chmod 400is used to give the file read only permissions for the owner, which is required in order to start the connection. It is not possible to change the permissions on a file depending on the specific directory in which it is located, which is another reason to have it placed in the known hosts or ~./ssh directory.

The syntax for SSH is as follows:
sudo ssh -i <key-pair> <server_username>@<public_ipv4_address>
If in the working directory leave the .pem file name as is, otherwise while not in the working directory, just add the path to the file.
sudo ssh -i <path_to_key-pair>/<key-pair> <username>@<public_ip>
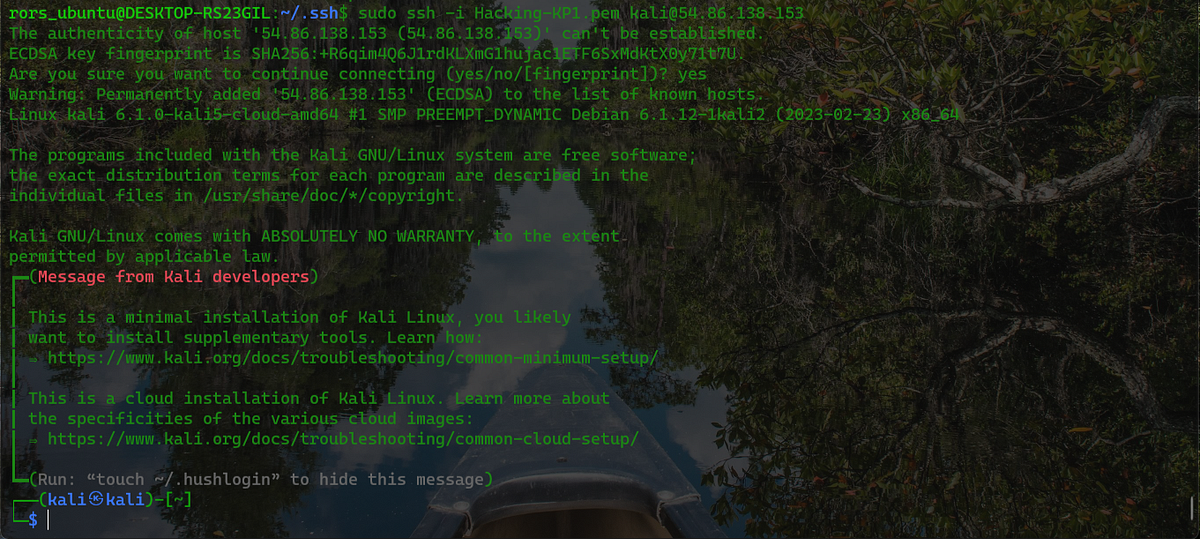
Once logged in, follow the protocol of updating and upgrading the system; ensuring the most up-to-date packages will be available during the tooling installation process.
sudo apt update && sudo apt install -y

df can check amount of space available on system storage device, in our case the EBS (elastic block storage) volume.

which is used to locate the executable file associated with a given command.
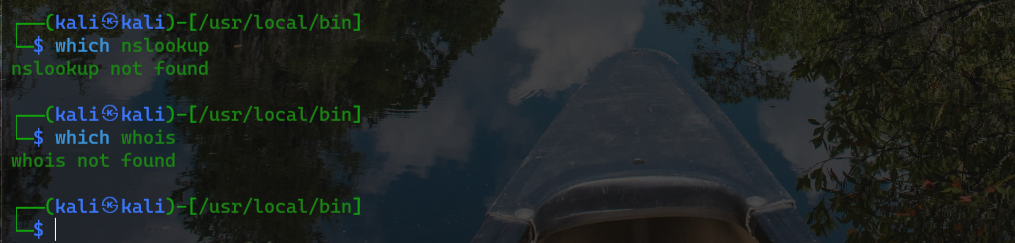
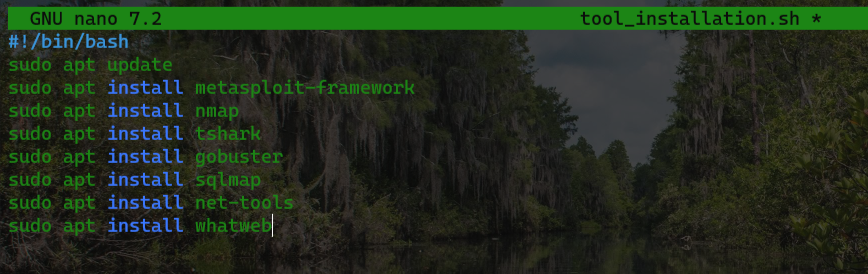
I wrote this bash script to install all the essential network tools, although I have since extended the script to include missing DNS tools and to not require the manual input of the multiple yes confirmations.
#!/bin/bash
sudo apt update
sudo apt install -y metasploit-framework
sudo apt install -y nmap
sudo apt install -y tshark
sudo apt install -y gobuster
sudo apt install -y sqlmap
sudo apt install -y net-tools
sudo apt install -y whatweb
sudo apt install -y dnsutils
This script can be copied and placed into your own bash script. Use sudo nano <name-of-your-script>to make a new file, cntrl o to save and cntrl x to exit.
Give the script execution permission with sudo chmod +x, then type ./ before the file name to run the automated installation.

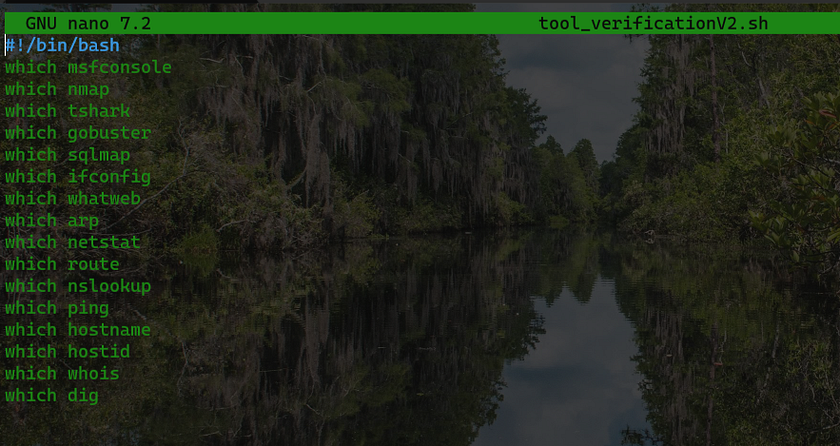
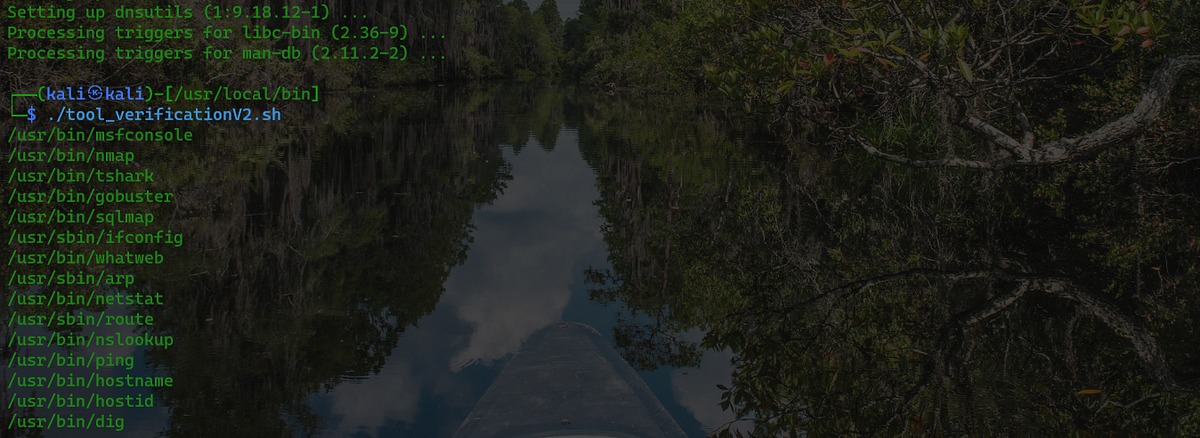
In order to confirm the installation of our tools, I’ve provided another script that checks the availability and location of these various command-line tools by using the familiarwhich command.
#!/bin/bash
which msfconsole
which nmap
which tshark
which gobuster
which sqlmap
which ifconfig
which whatweb
which arp
which netstat
which route
which nslookup
which ping
which hostname
which whois
which dig
which host
which nslookup
which nsupdate
Paste the text into your editor.
Give the script the same executable permissions as before sudo chmod +400
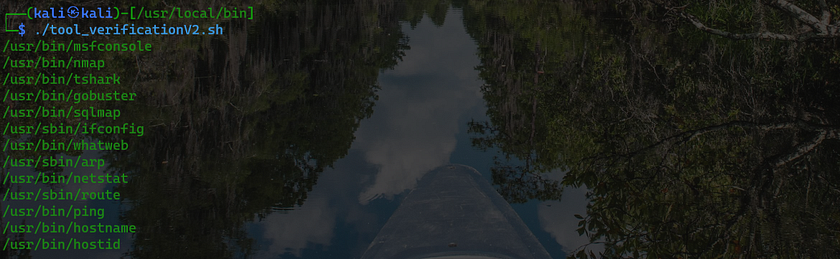
While utilizing this script is when I discovered that tools such as dig and nslookup are not included in the ‘net-tools’ package but are listed in a separate package named ‘dnsutils’, and I added this new package to the tool_installation script as mentioned previously.
I used apt install dnsutils by itself then ran my verification script again, confirming the additional tools now available on my client machine.
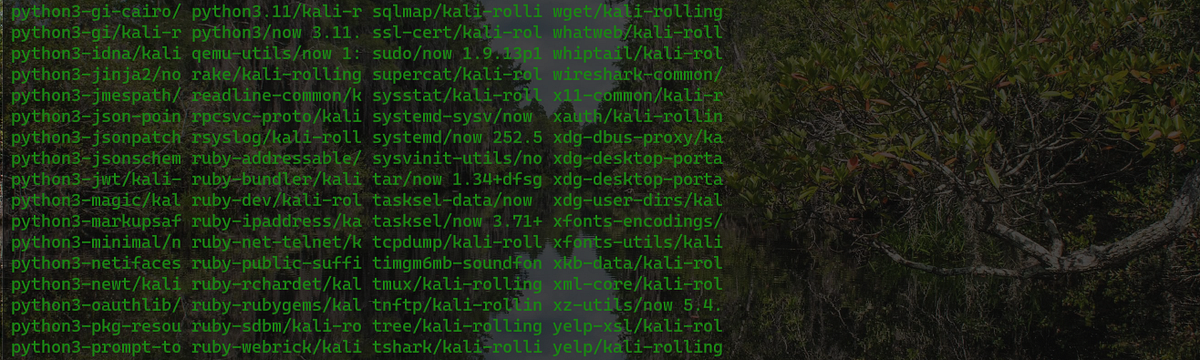
Besides my tool_verification script, another way to view what tools have been installed is with the apt list — installed command then piped into the pr command, which will paginate the results to view the text more condensed.
apt list --installed | pr -4 -twill spread the text into 4 columns like so: