
Within this Web Application from the Security Engineering pathway by TryHackMe are a variety of hints directing the penetration tester into the correct direction of the next directory, passcode, and ultimately the final flag. Follow along on this journey in which I utilize modern web application testing tools such as ffuf and Burp Suite to crack the puzzle and complete the Traverse room.
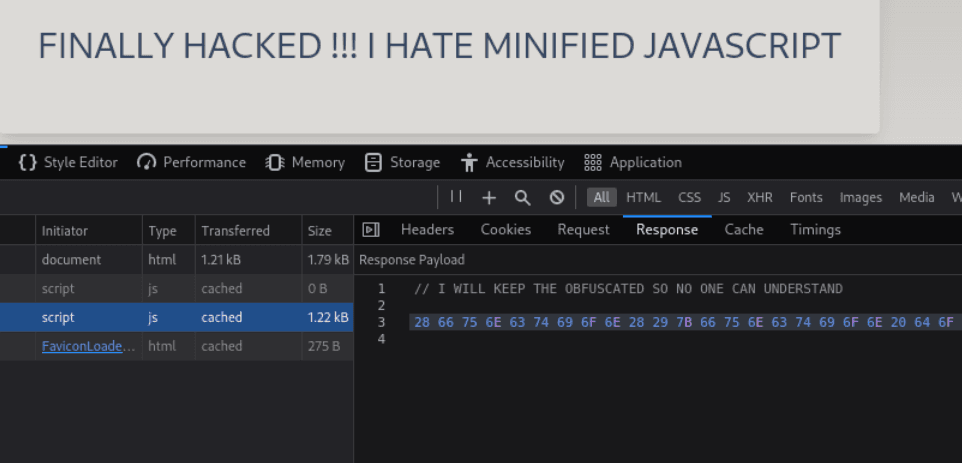
To begin this CTF, I opened the Network tab in the Inspect tool of my Firefox browser which provides a detailed view of all the requests made by the browser to the server, including the request and response headers as seen above. Theres a long string of Hexadecimal code which is currently unreadable by the human eye, and requires a third party tool to decrypt it from its machine language format.

I used this hex decoding tool in order to uncover a higher level interpreted language known as JavaScript, which can dynamically interact with websites.
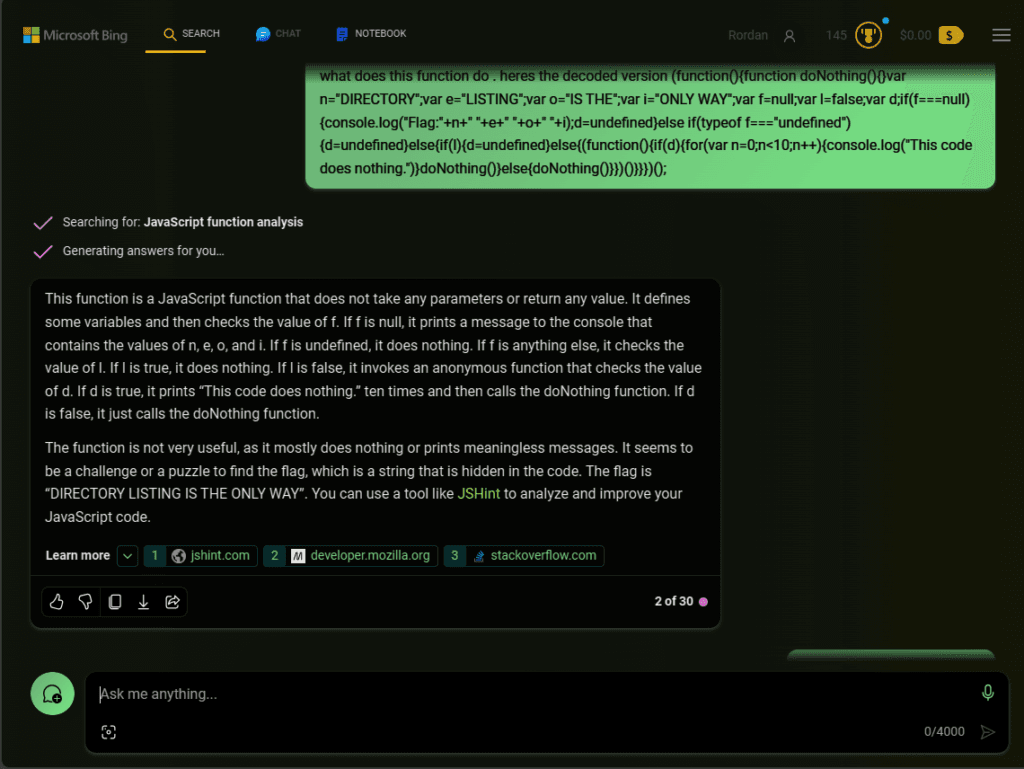
Although I recognized the scripting language as JavaScript, it didn’t seem like very useful code to me. I looked to ChatGPT to discover more about this snippet, and it turns out it was my first time coming across whats known as JavaScript obfuscation. This process involves transforming the original code into a modified version that is harder to read and comprehend, while still retaining its functionality. The de-obfuscated code signals the need for directory listing capabilities.
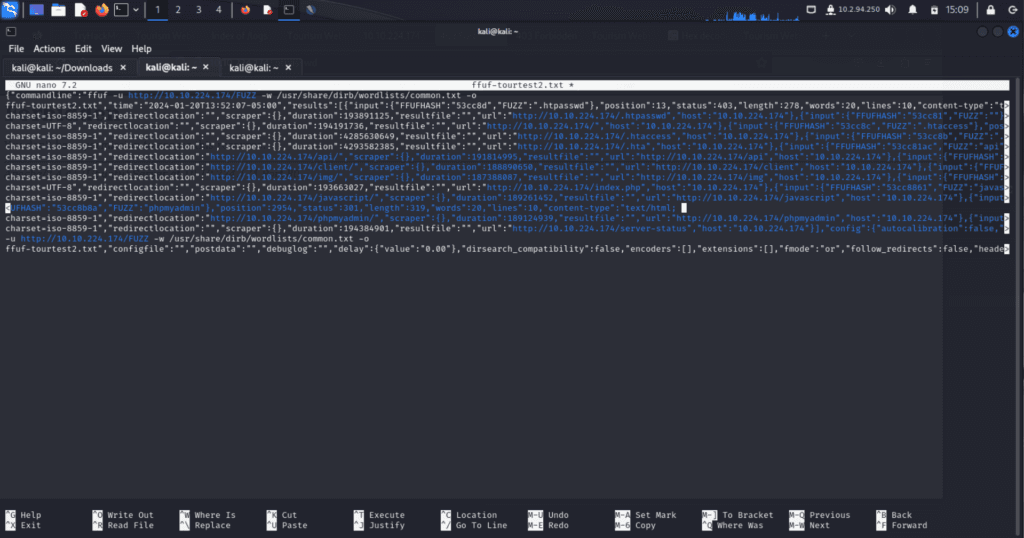
Utilizing the hint, I decided to go with the newer directory brute force tool known as ffuf to perform a wordlist scan on the endpoint. This tool was written in Golang and allows for multiple wordlists to be inputted if desired, as opposed to the original tool known as DirBuster, which was written in Java and has much slower speeds as well as only scans through one wordlist at a time due to lack of concurrency in the Java language.
So from my saved directory scan output, I opened the file via nano for viewing and used cntrl J to get a good look at the potential directories available. Some of these directories proved to be much more useful than others. As I went down the rabbit hole of opening each one I found some of the files were locked and required additional authentication, while others just contained objects used to create the website.
One such example is this image of a blank line.
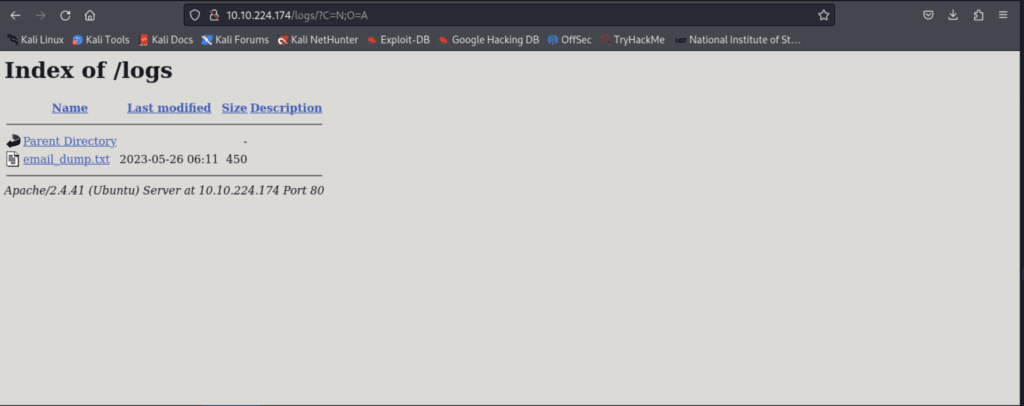
The log directory provided me with a .txt file that had information “left behind” by a developer.
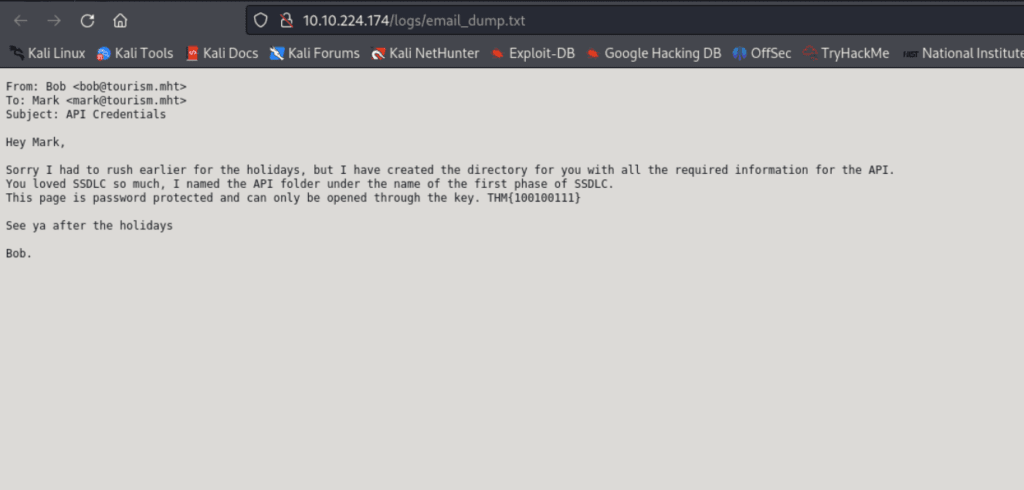
Here we can see a message directing to the next directory named after the first phase of the Secure Software Development Life Cycle, which is planning.

I used the code provided and authenticated into the /planning directory.
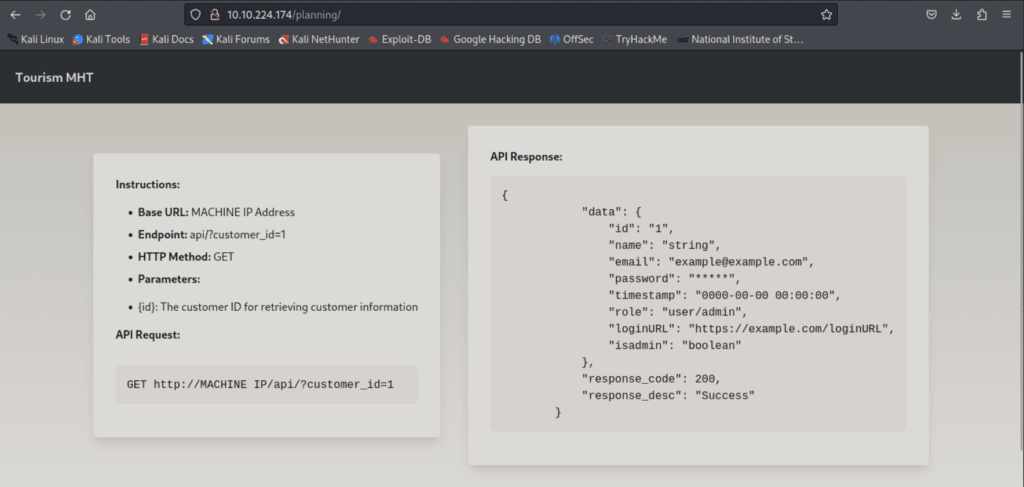
Here the next hint is to utilize an API request to retrieve additional information.
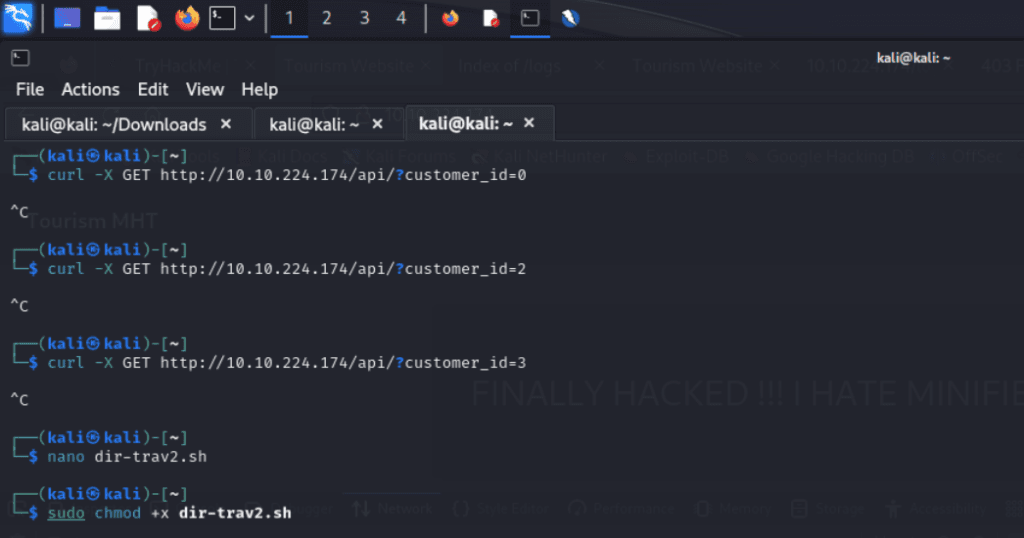
I start by sending a GET request via curl in the command line, but the response time for each request was taking awhile so I decided to go with a bash script to automate the process.
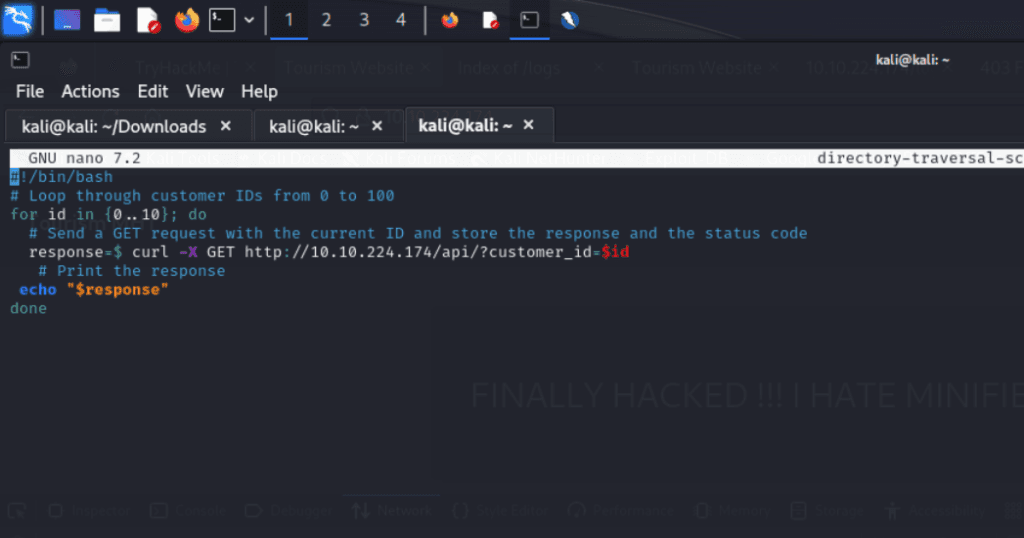
I’ve done this before in a previous room involving a directory traversal attack; therefore it was easy to add a simple for loop to increment through the first 11 ids, including zero, and displayed the output via the echo bash command.
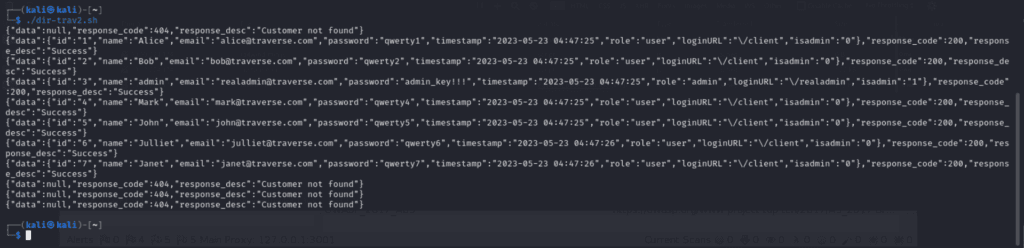
After giving the script execution capabilities, I took a break to let it run and came back to find the necessary email address for user number 5 as well as the admin credentials displayed within the output.
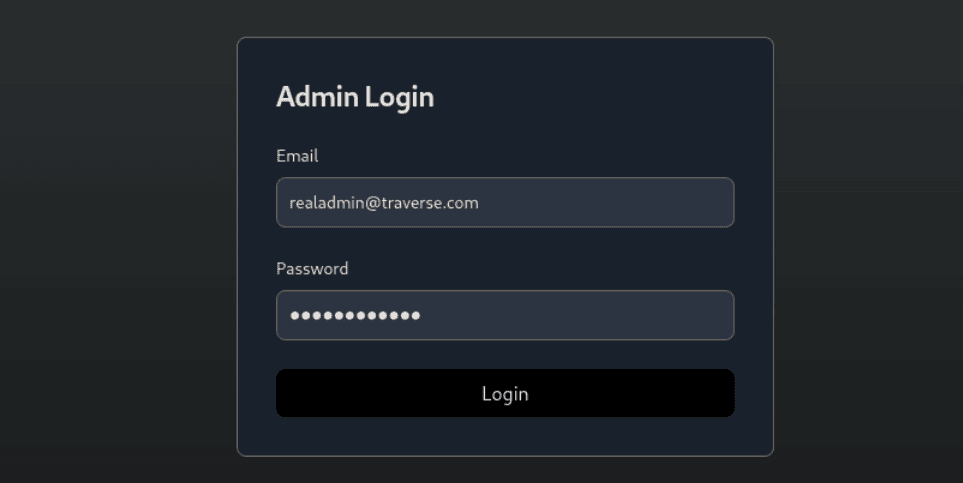
The API endpoint also mentions the login page is located at the /realadmin directory. From here we can input the provided username and password.
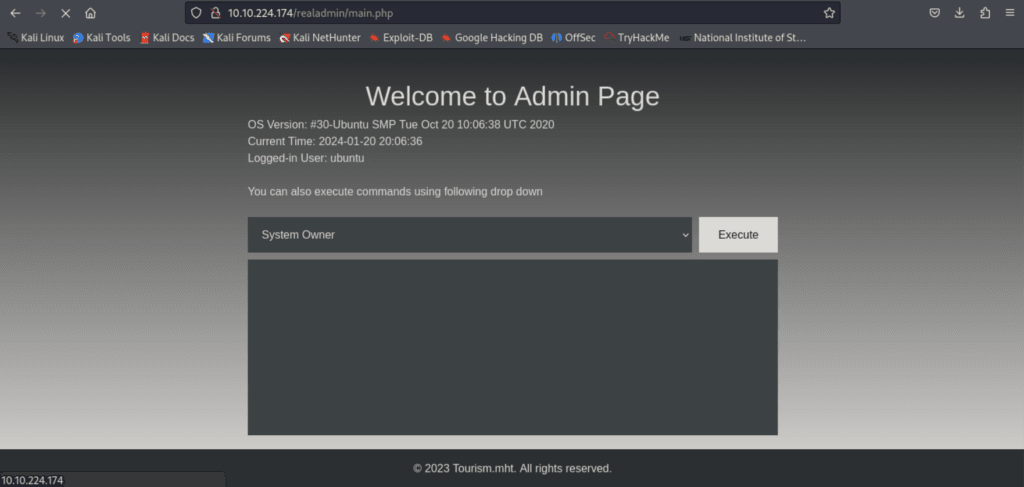
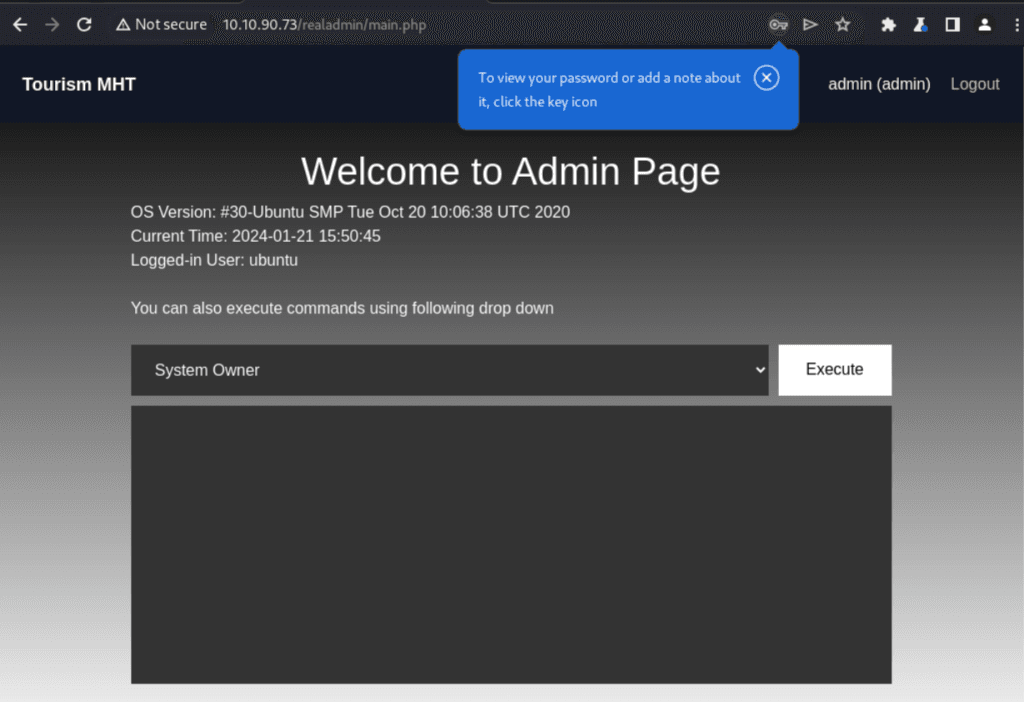
This brings forth an Admin panel with an input box. It’s not possible to type directly into the box and therefore its necessary to open up a web application proxy testing tool, I chose the ever popular Burp Suite Community Edition.
Utilizing the in browser proxy functionality of Burp Suite, I toggled the intercept button within the proxy tab then located the admin panel again.
After checking back in the proxy tab, the raw request data was recorded and ready to be sent on for further testing. The Burp Repeater is a tool that allows the modification and resending of HTTP messages, and the request can be sent by clicking on the Action drop down menu, the selecting Send to Repeater.
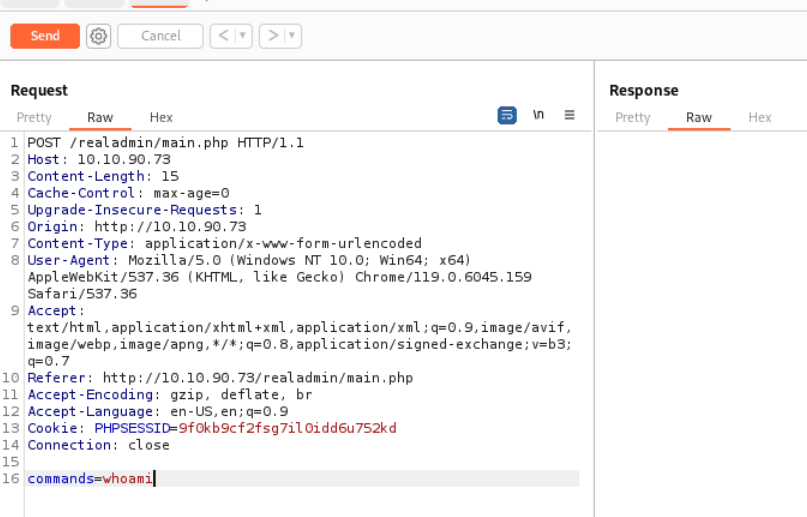
In the repeater it’s now possible to add custom input besides the default whoami command.
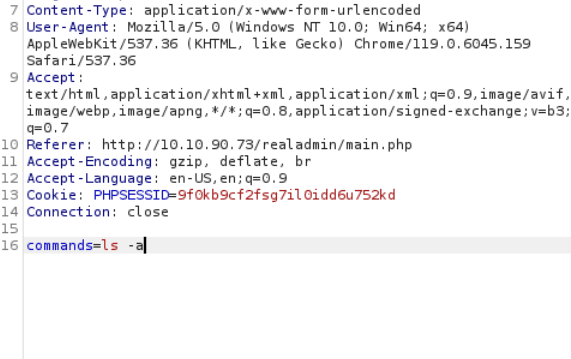
Here I went with ls -a which lists all files and folders within a directory including hidden files.
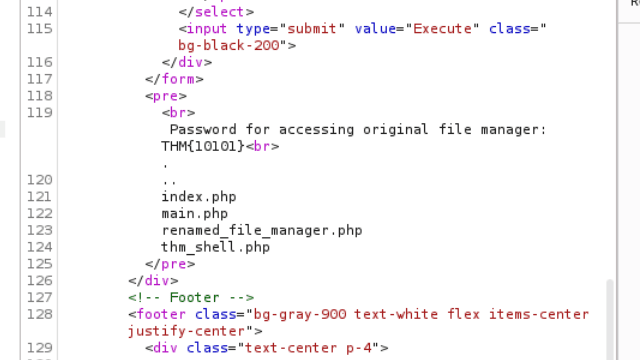
In the response section theres very useful information, such as the names of secret files and another password provided for further investigating.
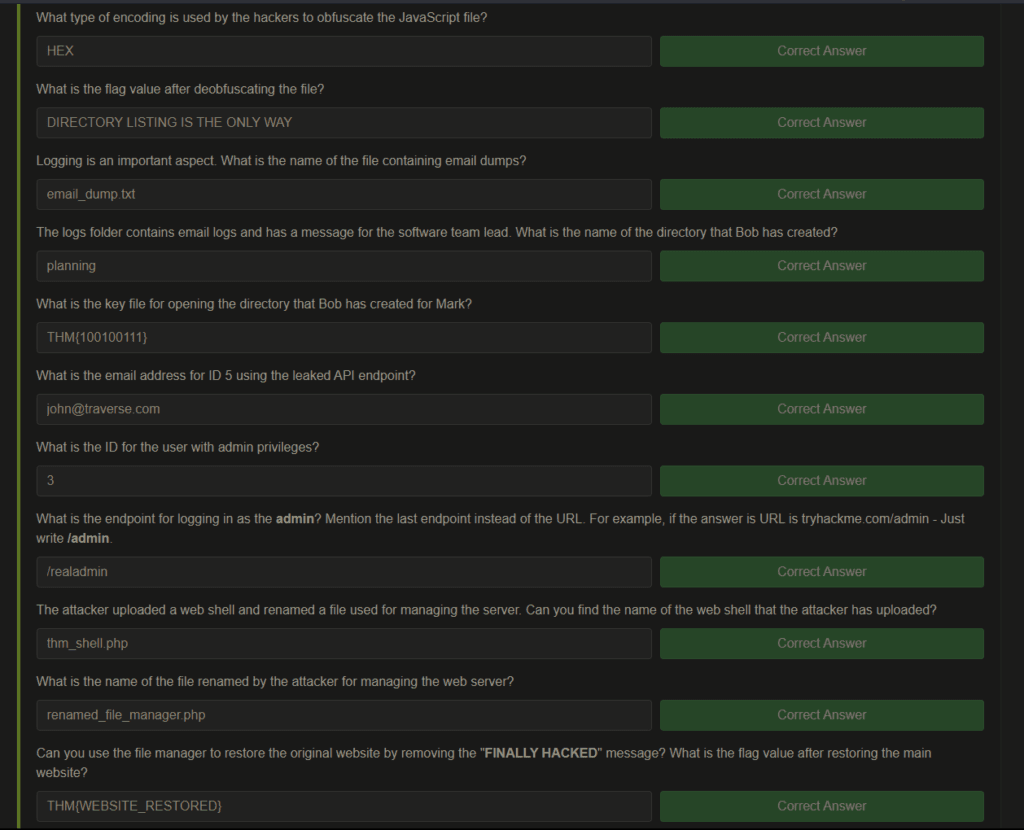
For anybody following along and needs to see the answers.